Launching An App
What You Need to Know:
- Python Basics
- Python Classes
What You Will Learn:
- How to quick launch an MVP app
- Using app.yaml files
- How to write handlers and routes
- Creating get requests
Why This is Important:
Let’s get launched! We are going to learn the fundamentals of creating an app that will be hosted on Google’s App Engine.
Launching a simple Hello, World App:
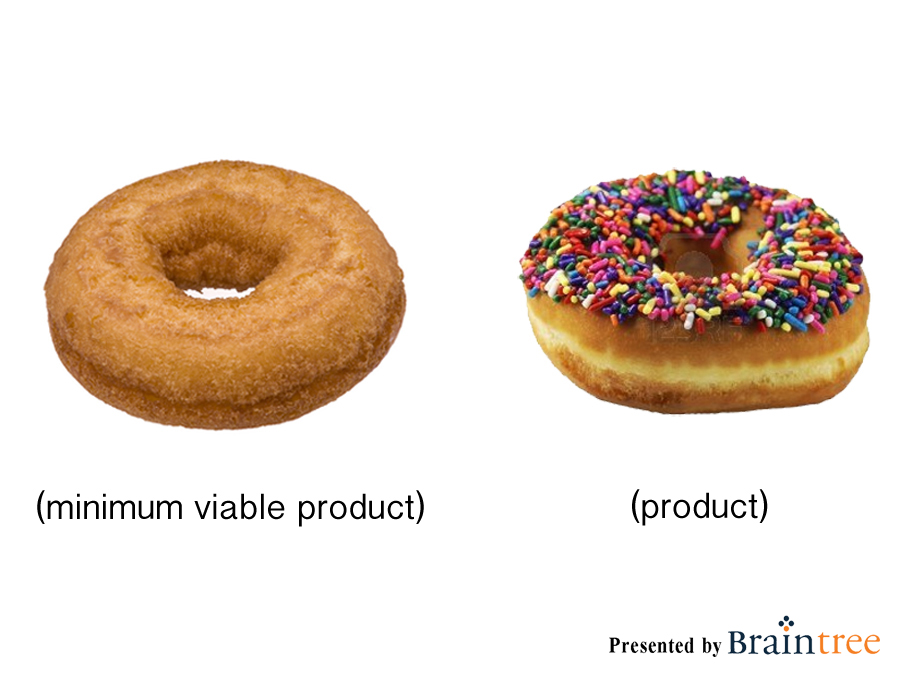
This is our Minimal Viable Product(MVP) - an app that will display the greeting “Hello, world!” when you launch it in the browser.
How to create our MVP app:
-
Open up GoogleAppEngineLauncher
-
Create a new application by going to the File menu and picking “New Application…”
-
Name your application “appengine-practice” * when naming apps never use uppercase letters or underscores *
-
Click the browse button to save the application in the desktop directory.
-
Enter 8080 in the port field if it’s not already there (Not admin port!)
- Click Create.
-
Click the green Run button.
- Open a new google chrome browser and put the url:
http://localhost:8080/
You should see: Hello, world!
CONGRATS you just made MVP app in Google App Engine.
What did AppEngine do for you?
App Engine created two files in the location specified in the ‘path’ column of the Launcher, in this case, this should be your Desktop.
App.yaml
The first file is a configuration file, app.yaml.
application: appengine-practice # unique application name
version: 1 #  version 1 of this application’s code
runtime: python27 #  running on python 2.7
api_version: 1 #  API version 1
threadsafe: true #  how AppEngine processes multiple requests simultaneously

handlers:
- url: /favicon\.ico
  static_files: favicon.ico
  upload: favicon\.ico

- url: .*
  script: main.app

libraries:
- name: webapp2
  version: "2.5.2"
Main.py
The main.py file is a file that contains Python code surrounded by a framework called webapp2. This framework helps link the pages the user sees to the logic we want to perform on the backend.
import webapp2 # imports webapp2

class MainHandler(webapp2.RequestHandler):
    def get(self):
        self.response.write('Hello world!')

app = webapp2.WSGIApplication([
    ('/', MainHandler)
], debug=True)
In main.py, first we import the webapp2 library to define our handlers.
Each handler is a class with one method that runs to handle the request and generate a response. The default request to handle is GET.
The last bit of code in main.py is the route, which maps the URLs to their handlers.
Creating a handler
If you need to create a new handler, there are typically two things to do:
- Create a new handler class with a unique name
- Add a new route mapping a URL to that handler.
To demonstrate that these handlers are just Python, we’ve also added code to the handler that counts to 100 with a for loop.
Here’s the full code added to the main.py file:
import webapp2

class MainHandler(webapp2.RequestHandler):
    def get(self):
        self.response.write('Hello world!')

class CountHandler(webapp2.RequestHandler):
    def get(self):
        for i in range(1, 101):
            self.response.write(i)

app = webapp2.WSGIApplication([
    ('/', MainHandler),
    ('/count', CountHandler),
], debug=True)
You can test this in your browser at http://localhost:8080/count. (If your application is running on a different port number, make sure you use the correct one.)
Once again, your screen says: Hello, world!
It also counts to 100 when we change the url path to /count. Our new handler at work!
Let’s not be so repetitive. We can continue to edit our application and see the updates immediately in the browser. We can edit our launched app to add all sorts of Python expressions and functions.
Conclusion:
App Engine quickly gets us off and running with the basic boilerplate of an app. It’s now up to us to use our Python skills to get that app to do what we want. The possibilities are endless!